
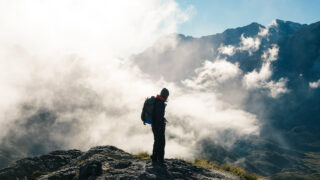

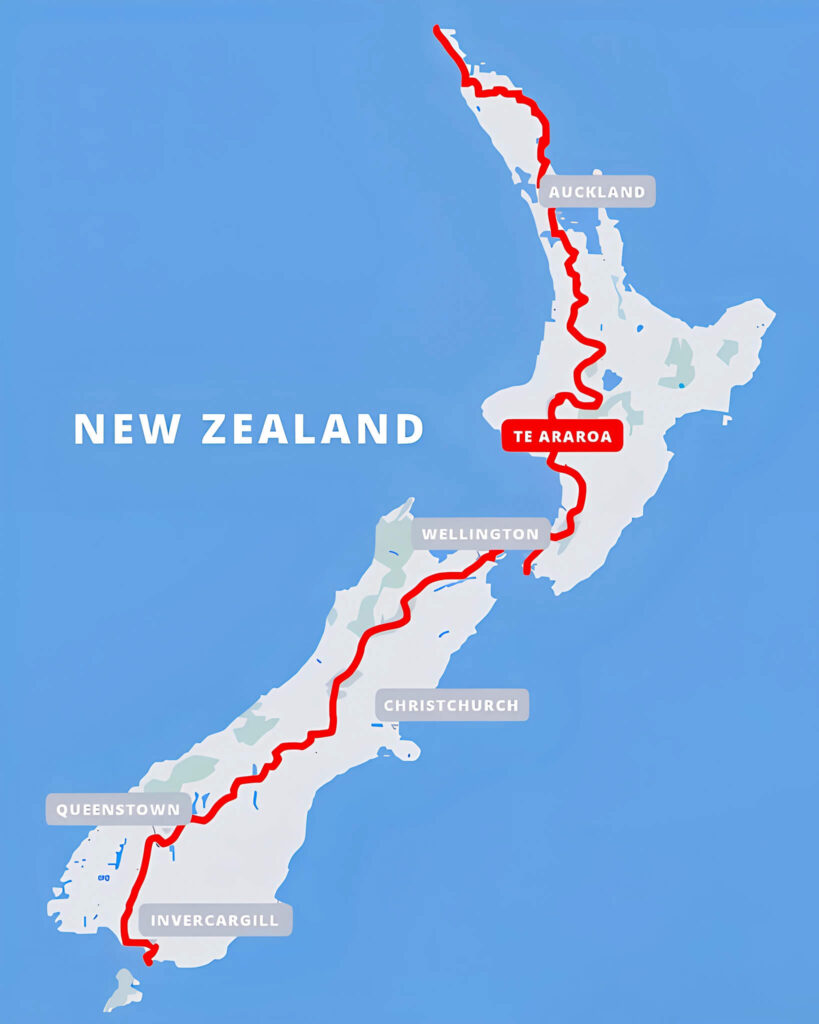
What is Te Araroa?
t’s a trail that connects the northernmost tip of New Zealand to the southernmost tip, stretching approximately 3,000 kilometers.
Best Season to Start: Mid-October to mid-November
Duration Required: 4 to 6 months
Average Daily Distance: Varies depending on the terrain of the day. (Around 20 km in mountain sections; roughly 35 km on road sections.)
Total Cost: 500,000 to 1,000,000 JPY
Most hikers out there are solo, though you do see couples and groups of friends who came out together.
I even met people who had absolutely zero hiking experience, and one guy who bought every single piece of his gear the literal day before starting. So honestly, anyone can do it!
Background Knowledge
I’ve put together a handful of essential things that are good to know in advance, which I hope will help with your pre-trip preparation.
My goal here is to give anyone thinking, “I want to hike the Te Araroa,” or anyone wondering, “What exactly is Te Araroa anyway?” a broad sense of what the vibe is like out there. For this piece, I’ve focused primarily on the physical and practical aspects of the trail.
For those of you who feel that over-researching ruins the magic of the journey—don’t worry. I’m not going to spoil anything or dive into microscopic detail (mostly because I’m exactly the same way). Instead, I’ve compiled the kind of practical insights that will save you unnecessary expenses and wasted time.
Take a read, and let’s look at how you can get the absolute most out of this experience!
Te Araroa
It is a 3,000-kilometer trail that takes about 4 months to complete.
Nearly 1,000 people hike it every year (including section hikers), though Japanese thru-hikers make up only about 0.1% of that total.
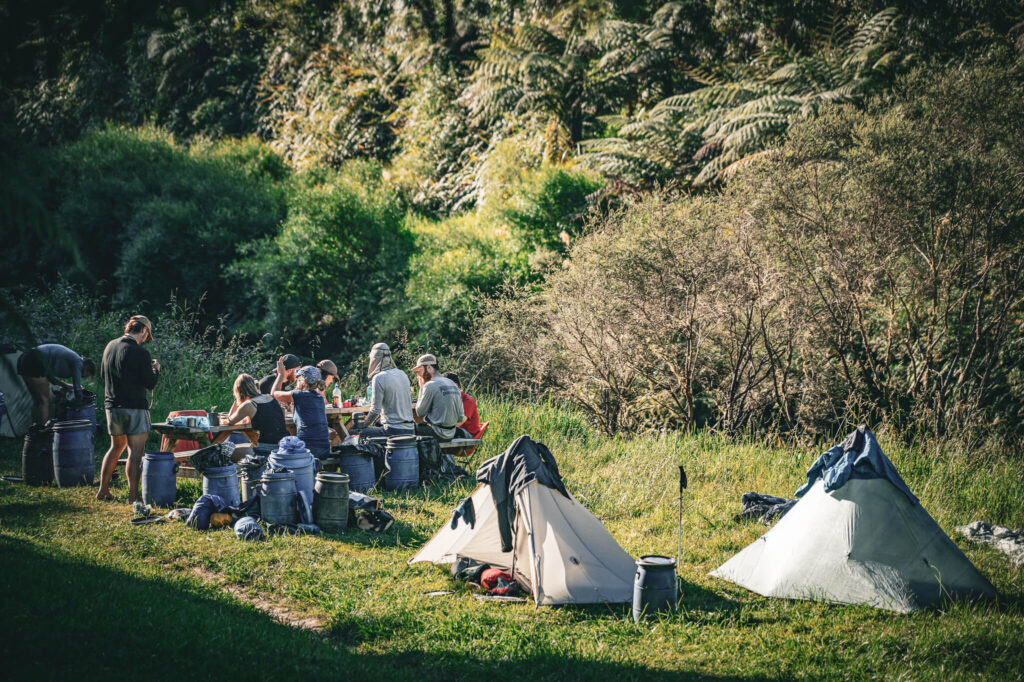
For accommodation, you’ll mostly be staying in your tent or using the backcountry huts along the way. As for food, you resupply whenever you hit a town, buying just enough days’ worth of rations to get you through to the next town.
Because Te Araroa is deeply woven into New Zealand culture, it’s not unusual to cross paths with actual angels who will ask you things like, “Want to stay over tonight?”, “Want to grab a bite with us?”, or “Need a lift down the road?”
That said, to actually make this hike happen, there are a few essential things you’ll need besides just the mental grit.
What You Need
Here’s a quick breakdown of what you actually need to get through the logistics and daily life on the trail:
Maps & Navigation, Permits & Registrations, Daily Trail Life Essentials
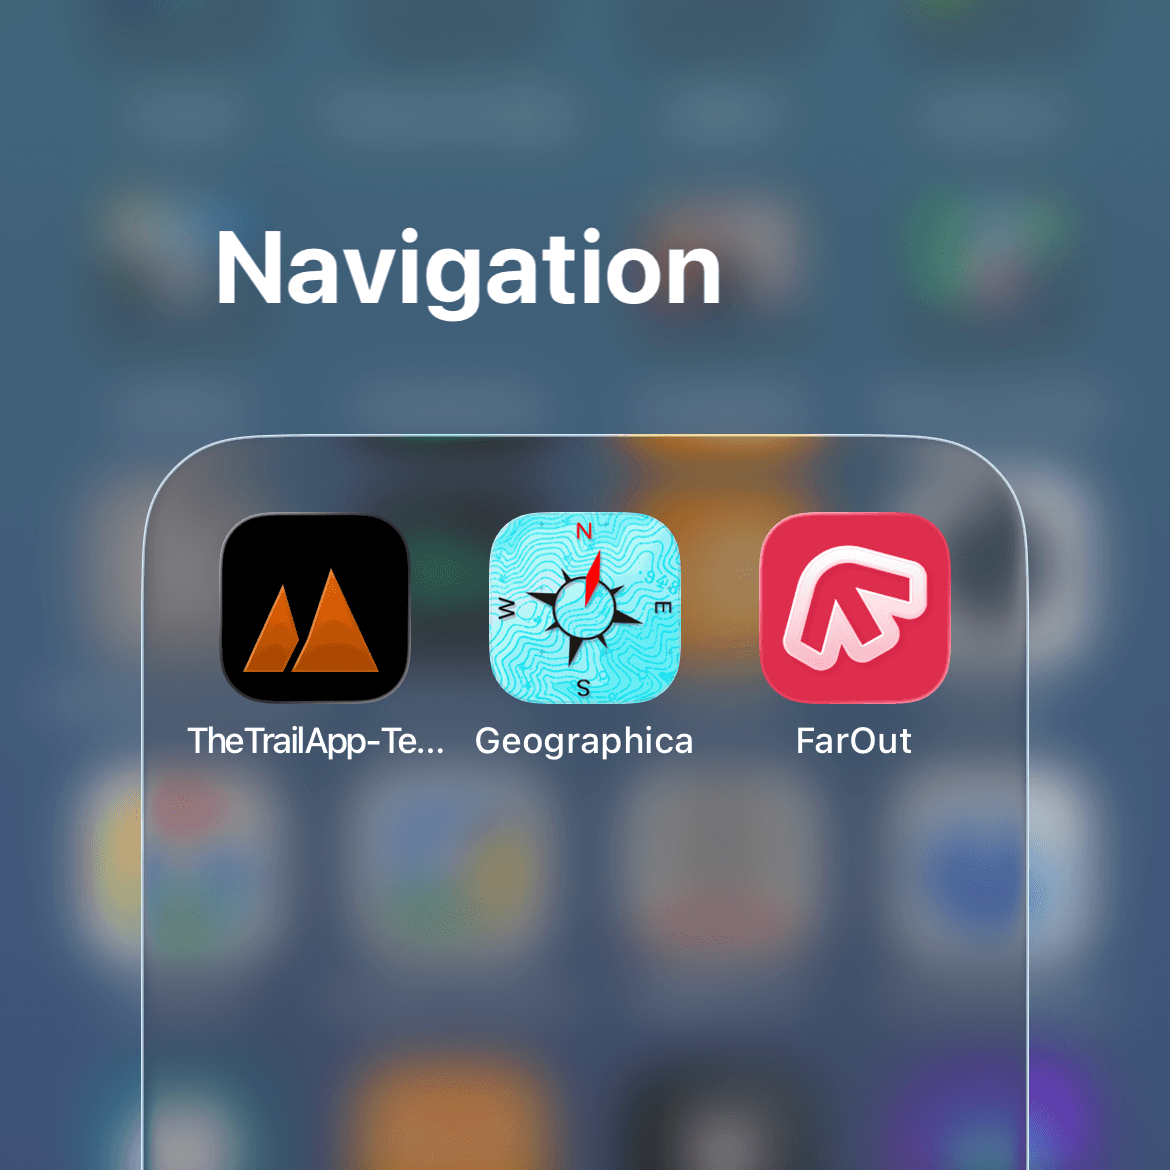
Maps
It’s highly convenient to have two specific apps: “TA Map” and “FarOut.”
While I recommend purchasing the official “TA Map,” it isn’t an absolute requirement. The free resources provided directly by the Te Araroa Trust are enough to get you through the trail. However, FarOut is packed with incredibly useful crowd-sourced information.
These are the exact apps I used during my hike.
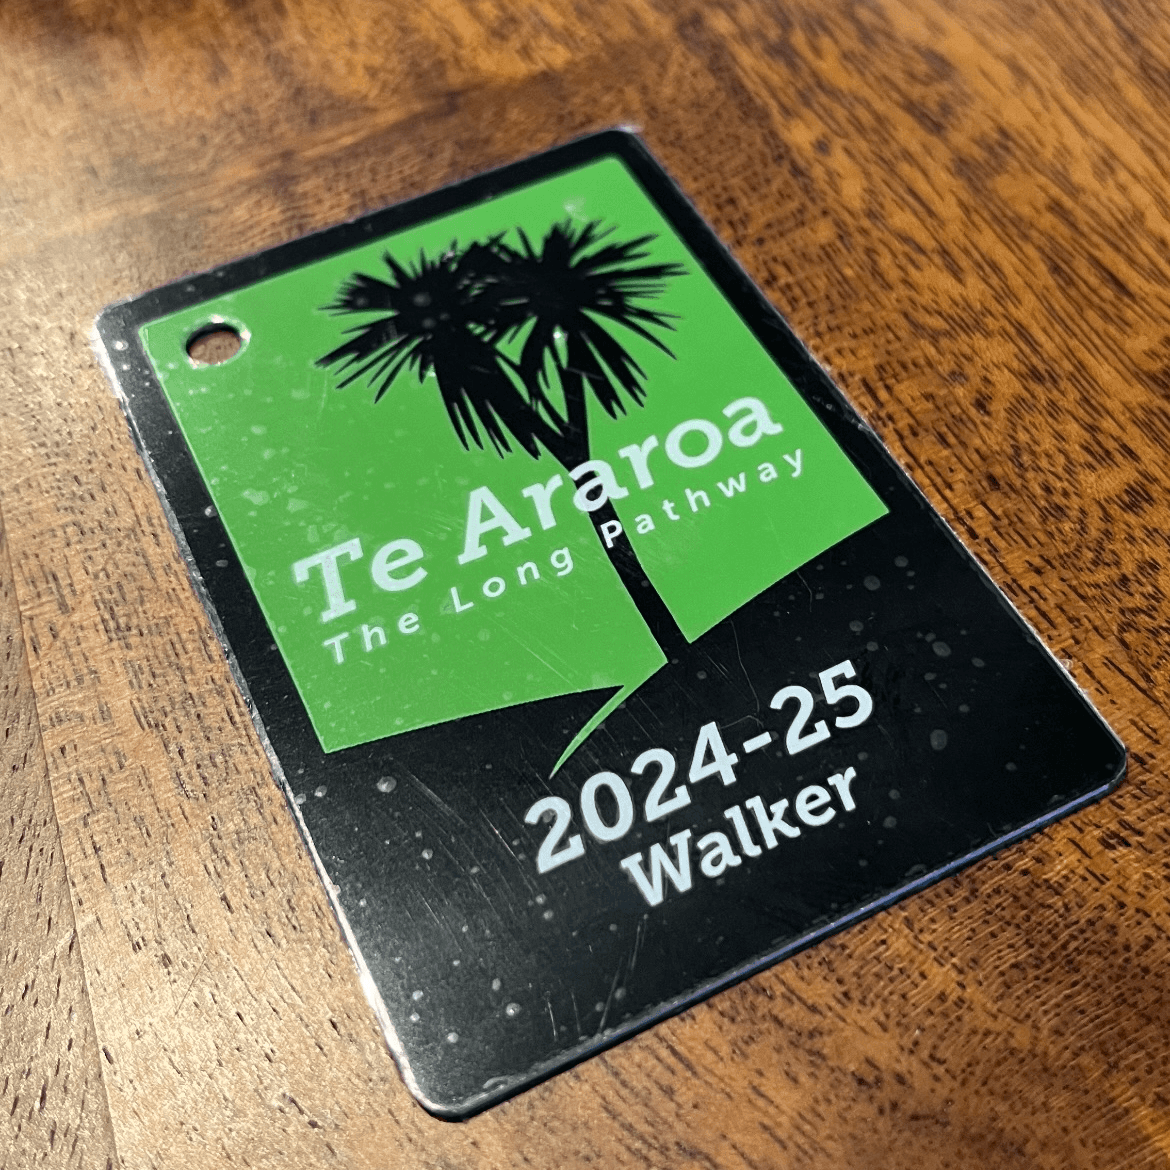
Applying for the Te Araroa Pass
Both thru-hikers and section hikers who are only doing the South Island need to apply. Applications usually open around August every year. https://www.teararoa.org.nz/the-trail-pass/
Main Benefits:
Permission to pass through private land (for certain sections).
Free or discounted use of DOC (Department of Conservation) huts and campsites.
Discount on the ferry (between the North and South Islands).
Receipt of the official bag tag (registration badge).
Regarding visas:
Since you will be staying for more than 3 months, you need to obtain either a Visitor Visa or a Working Holiday Visa.
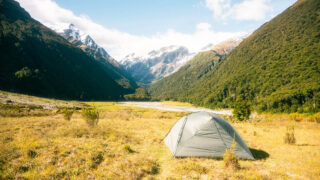
テント
I spent 66 nights in a tent.
I used the HMG ULTAMID 1. This is a lightweight, floorless tarp weighing 235g with no bug mesh.
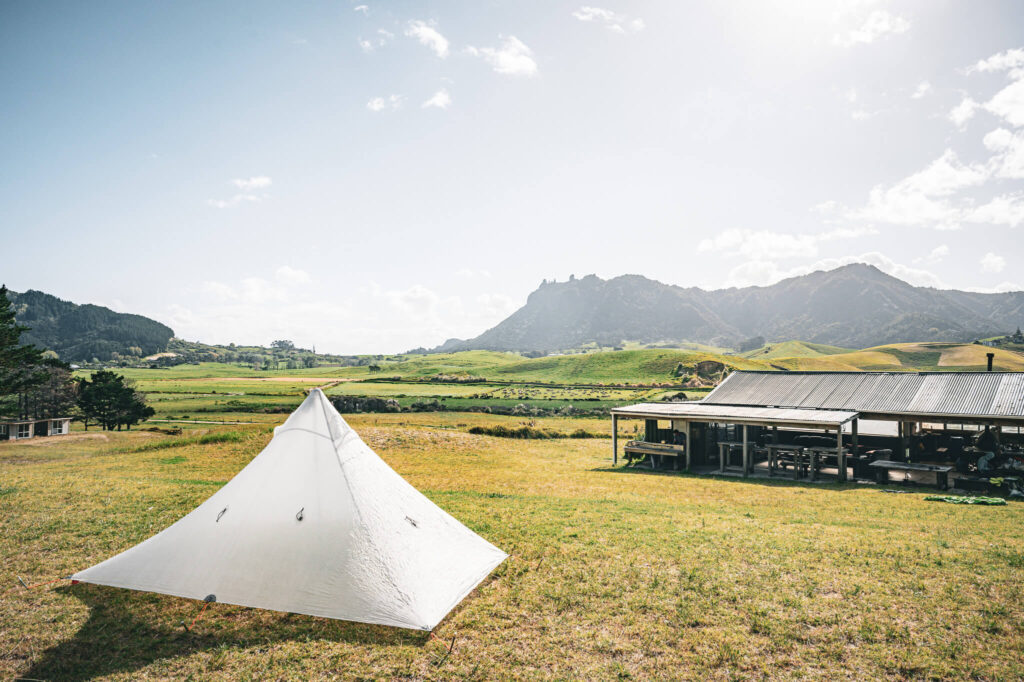
Basically, as long as you don’t pitch your tent on a ridgeline, you can get by with a tarp or a one-pole tent. The wind isn’t that strong.
However…
If you are going hiking in New Zealand, absolutely make sure to buy a tent with bug mesh!!
New Zealand is home to a blood-sucking insect called the sandfly. They’re like mosquitoes.
And there are tons of them. (Especially on the South Island.)
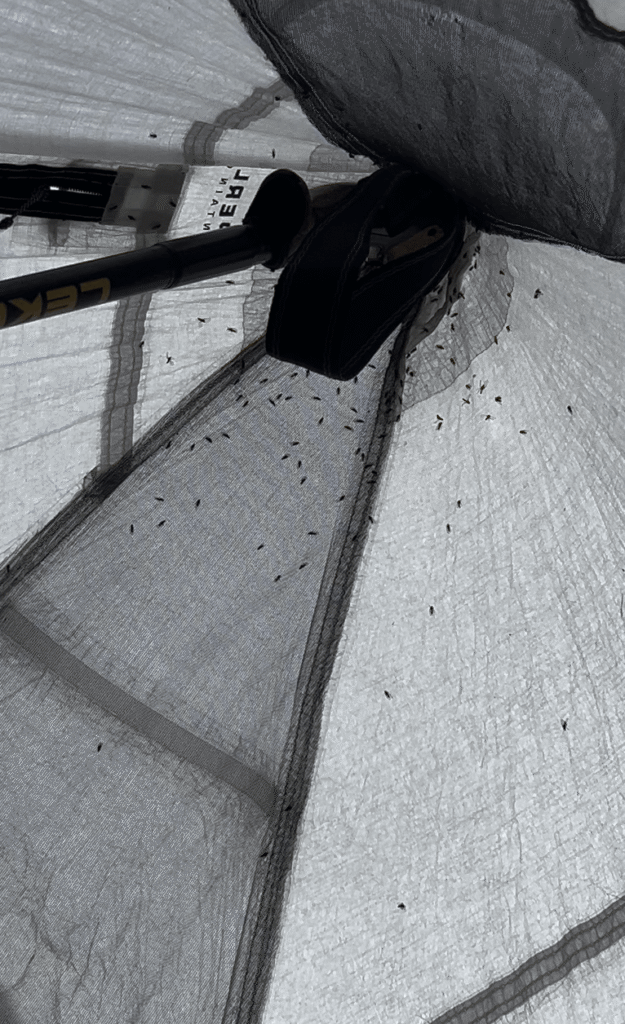
In places where there are tons of them, eating outdoors is a massive struggle. In fact, it’s pretty much impossible.
Sandfly activity is completely tied to the sun—they go to sleep when the sun sets, and wake up when it rises. Rolling eyes
Because I didn’t have bug mesh, I was forced to wait until around 22:00 when they finally quieted down just to eat dinner.
Please, absolutely make sure you use a tent with bug mesh.
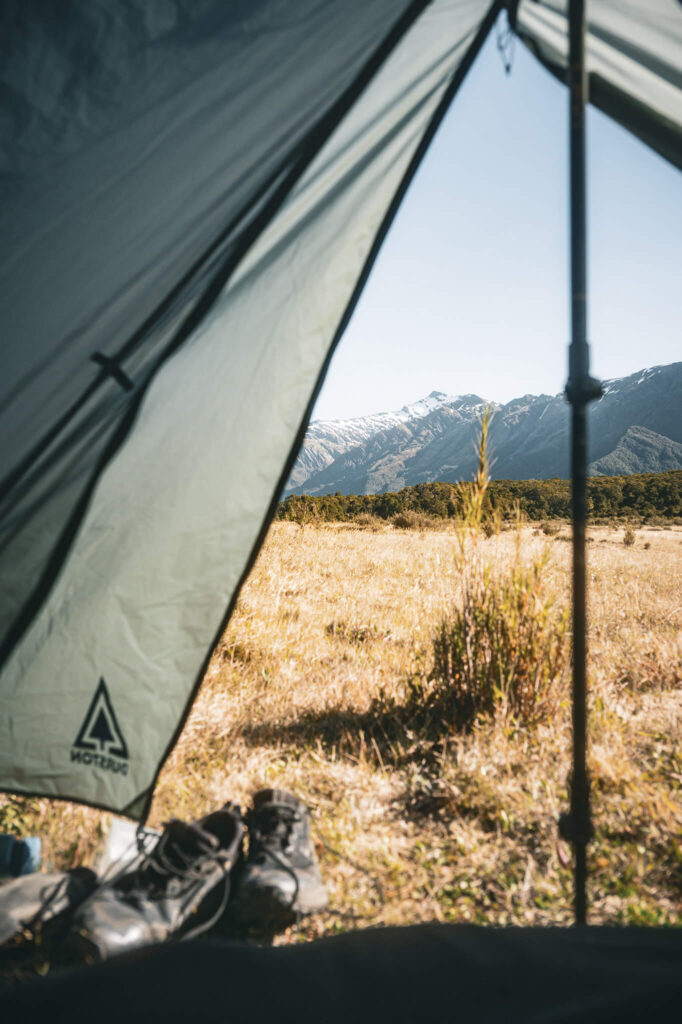
For the 25-26 season in New Zealand, I went with a tent that actually had bug mesh. lol
Also, I think it’s good to have a head net. A lot of hikers had them.
When choosing a head net, I recommend a tough-looking material even if it’s a bit heavy.
The reason is simple: “If it rips, it’s over.” That’s it.
It looks a bit thin based on appearance… Might be better to check it out in person at a store.
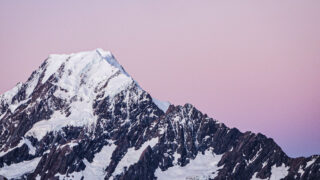
Expected temperatures
I think it’s best to expect temperatures ranging from around 23°F to 86°F. During the 24-25 season, snow was observed around Tongariro in November, and temperatures dropped close to 32°F around Queenstown in March. I was boosting my sleeping bag—which had a lower comfort limit of 23°F—by wearing down pants.
I never once had a night where it was too cold to sleep with this setup.
Footwear
This honestly doesn’t matter too much. I think whatever you like is fine.
Most people walking are in trail running shoes. I’d say high-cut hiking boots make up only about 1%.
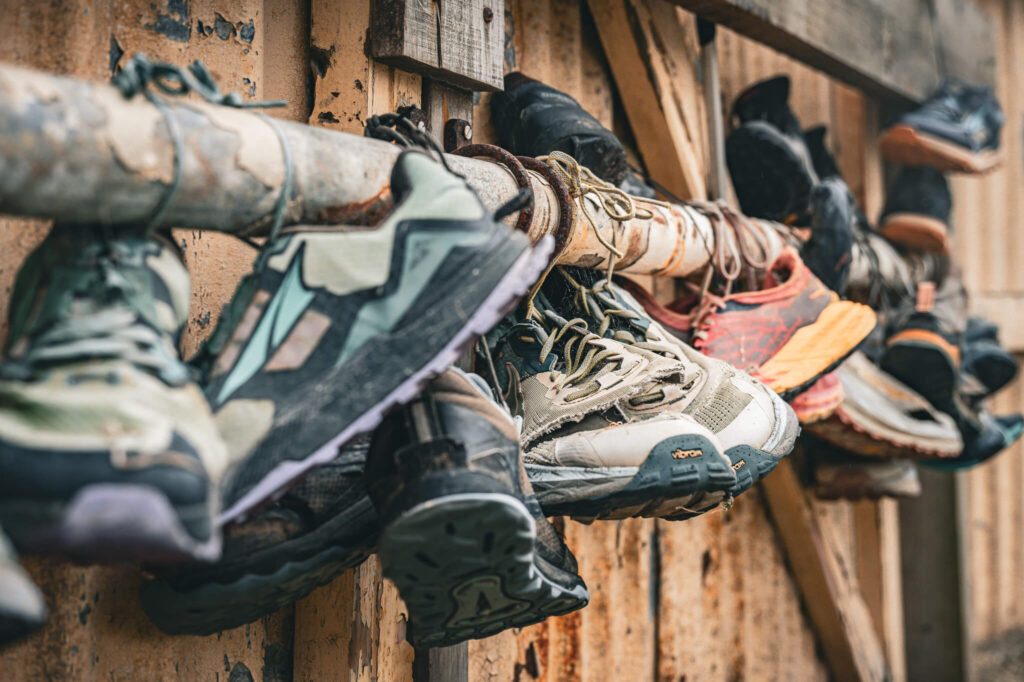
Since it’s 3,000 km, I think you’ll end up replacing them. My recommendation is Facebook Marketplace.
This is how I kept my gear expenses down.
Also, interestingly enough, once people enter the South Island, everyone switches to Norda.
I guess a lot of people replace their shoes at the outdoor shop in Wellington.
Since many people finish the trail with those, I’d say most everyone burns through about two pairs or so.
Backpack selection
I went with the 68L Circuit.
Total weight = Base weight + Food & Water
It depends on how much you eat, but I think there will be times when you carry about 3 kg of food. (Assuming a maximum of 8 days)
If you include snacks, it increases even more.
Based on that, the way to choose is to “measure your pack weight first.”
Pack Weight:
Under 5 kg | 5 kg or more
No hip belt | With hip belt
As for the frame, I think it comes down to preference, but my approach is:
Under 6 kg | 6 kg or more
Frameless | With frame
With this in mind, plus carrying an extra 3 to 4 kg of food, I think you can choose a pack that allows you to hike comfortably.
(*Note: This is strictly a personal opinion)
Some people might say, “Even without a hip belt, around 13 kg is a breeze,” so please just take this as a general reference.
Others
There were days when I walked in the rain all day long. Stopping because of the cold carried a risk of hypothermia, so that day I walked for 10 hours straight without even taking a lunch break.
What I realized then was that it would be great to have a poncho in addition to your rain gear. It functions both to prevent hypothermia and to enhance waterproofing.
Also, a crazy hiker once recommended to me, “It’s also great as emergency clothing while you have all your other clothes in the washing machine!” So please, give it a try! lol
I purchased this at a later date and used it once. Since it started hailing at the time, it also served as a sort of protective clothing.
Because it is so compact, I still keep it in my emergency kit to this day.

That should be about everything you need. As for the rest, I think you’re good to just bring whatever else you personally want to take along.
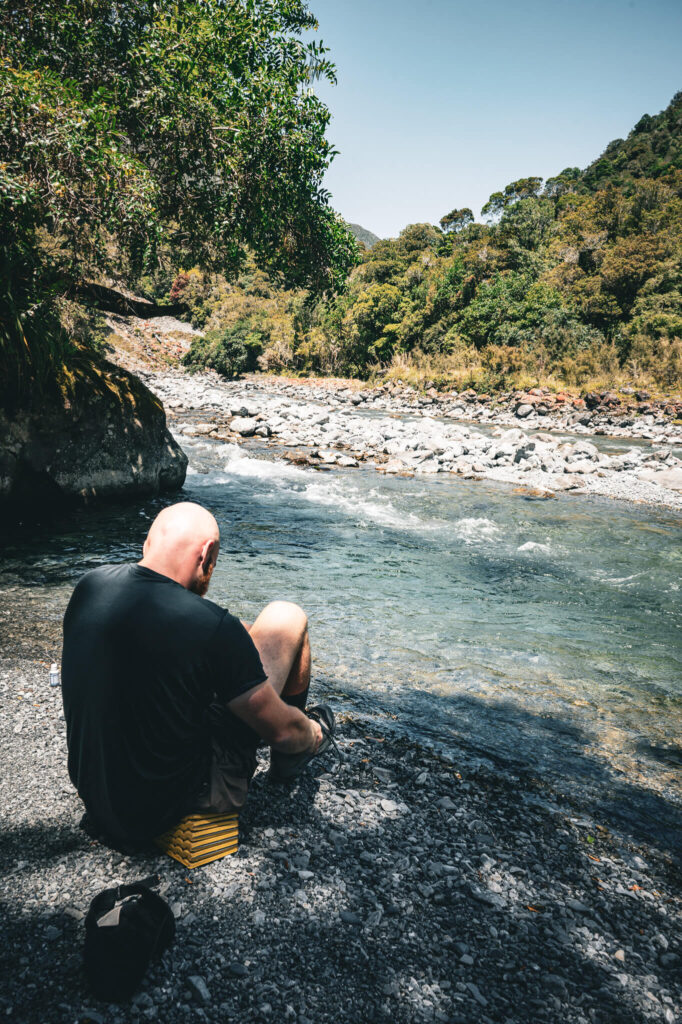
River crossings
On the days with the most crossings, I crossed rivers more than 50 times.
The depth varies depending on the weather and other factors, but I also crossed rivers that came up to around my waist.
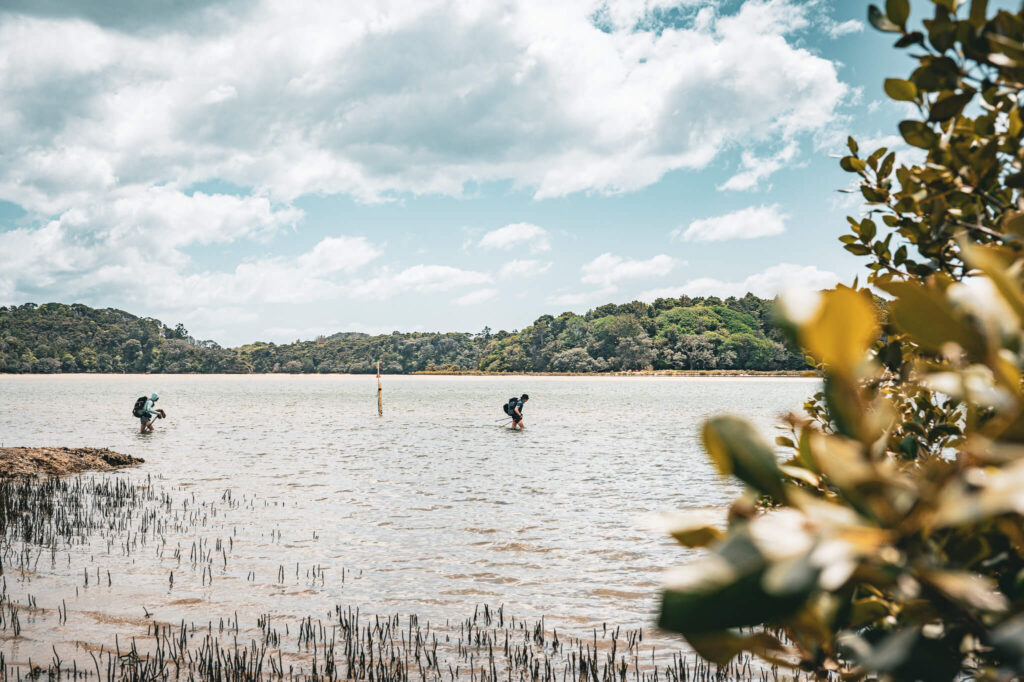
There was nothing more I could do. Or rather, there was nothing that could be done. I just had to wait for the water level to drop.
Even when it’s around waist-deep, the difficulty changes entirely depending on how fast the current is moving. Shorter hikers, like some of the women, were linking up and forming a scrum to cross together.
For the most part, it’s completely fine, but you have to be extremely careful at Bush Stream around the 2,373 km mark! Out of all the crossings I experienced, that was the one where I felt the greatest sense of danger.
Daily hiking distance
こThis varies greatly from person to person. It also depends on how many ups and downs there are on the trail.
However, since this was something I was curious about myself before setting out, I’ll give you some rough numbers.
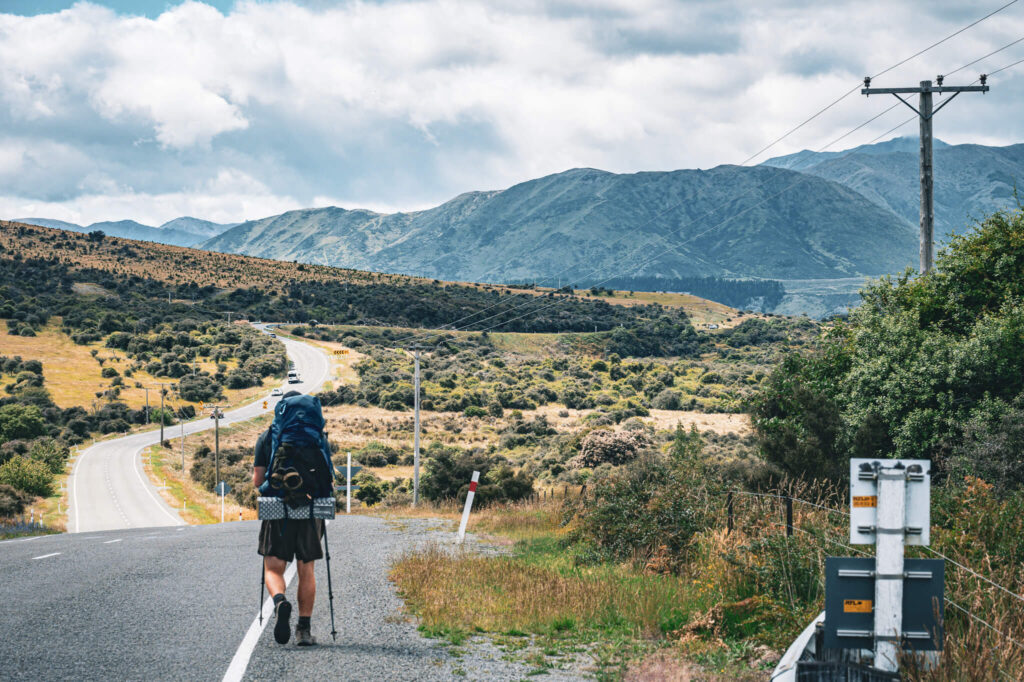
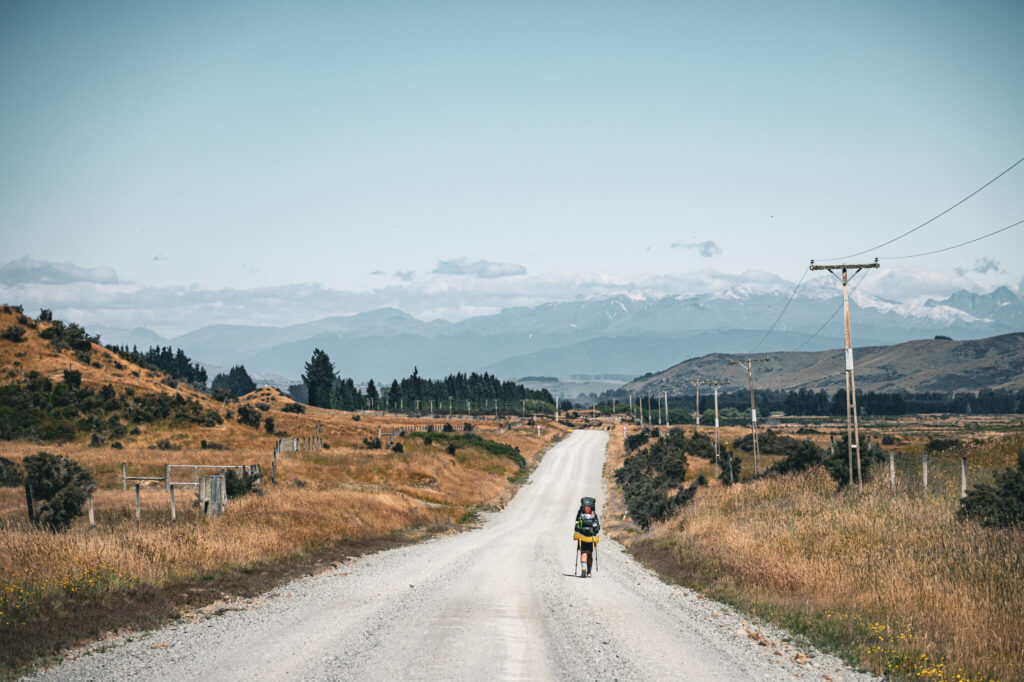
All-day road walking
Roughly 30 km to 40 km. If you progress at about 5 km per hour, it takes around 6 hours. For me, I even tried a 100 km challenge over 2 days, and there were some people who even attempted a 100 km challenge in a single day.
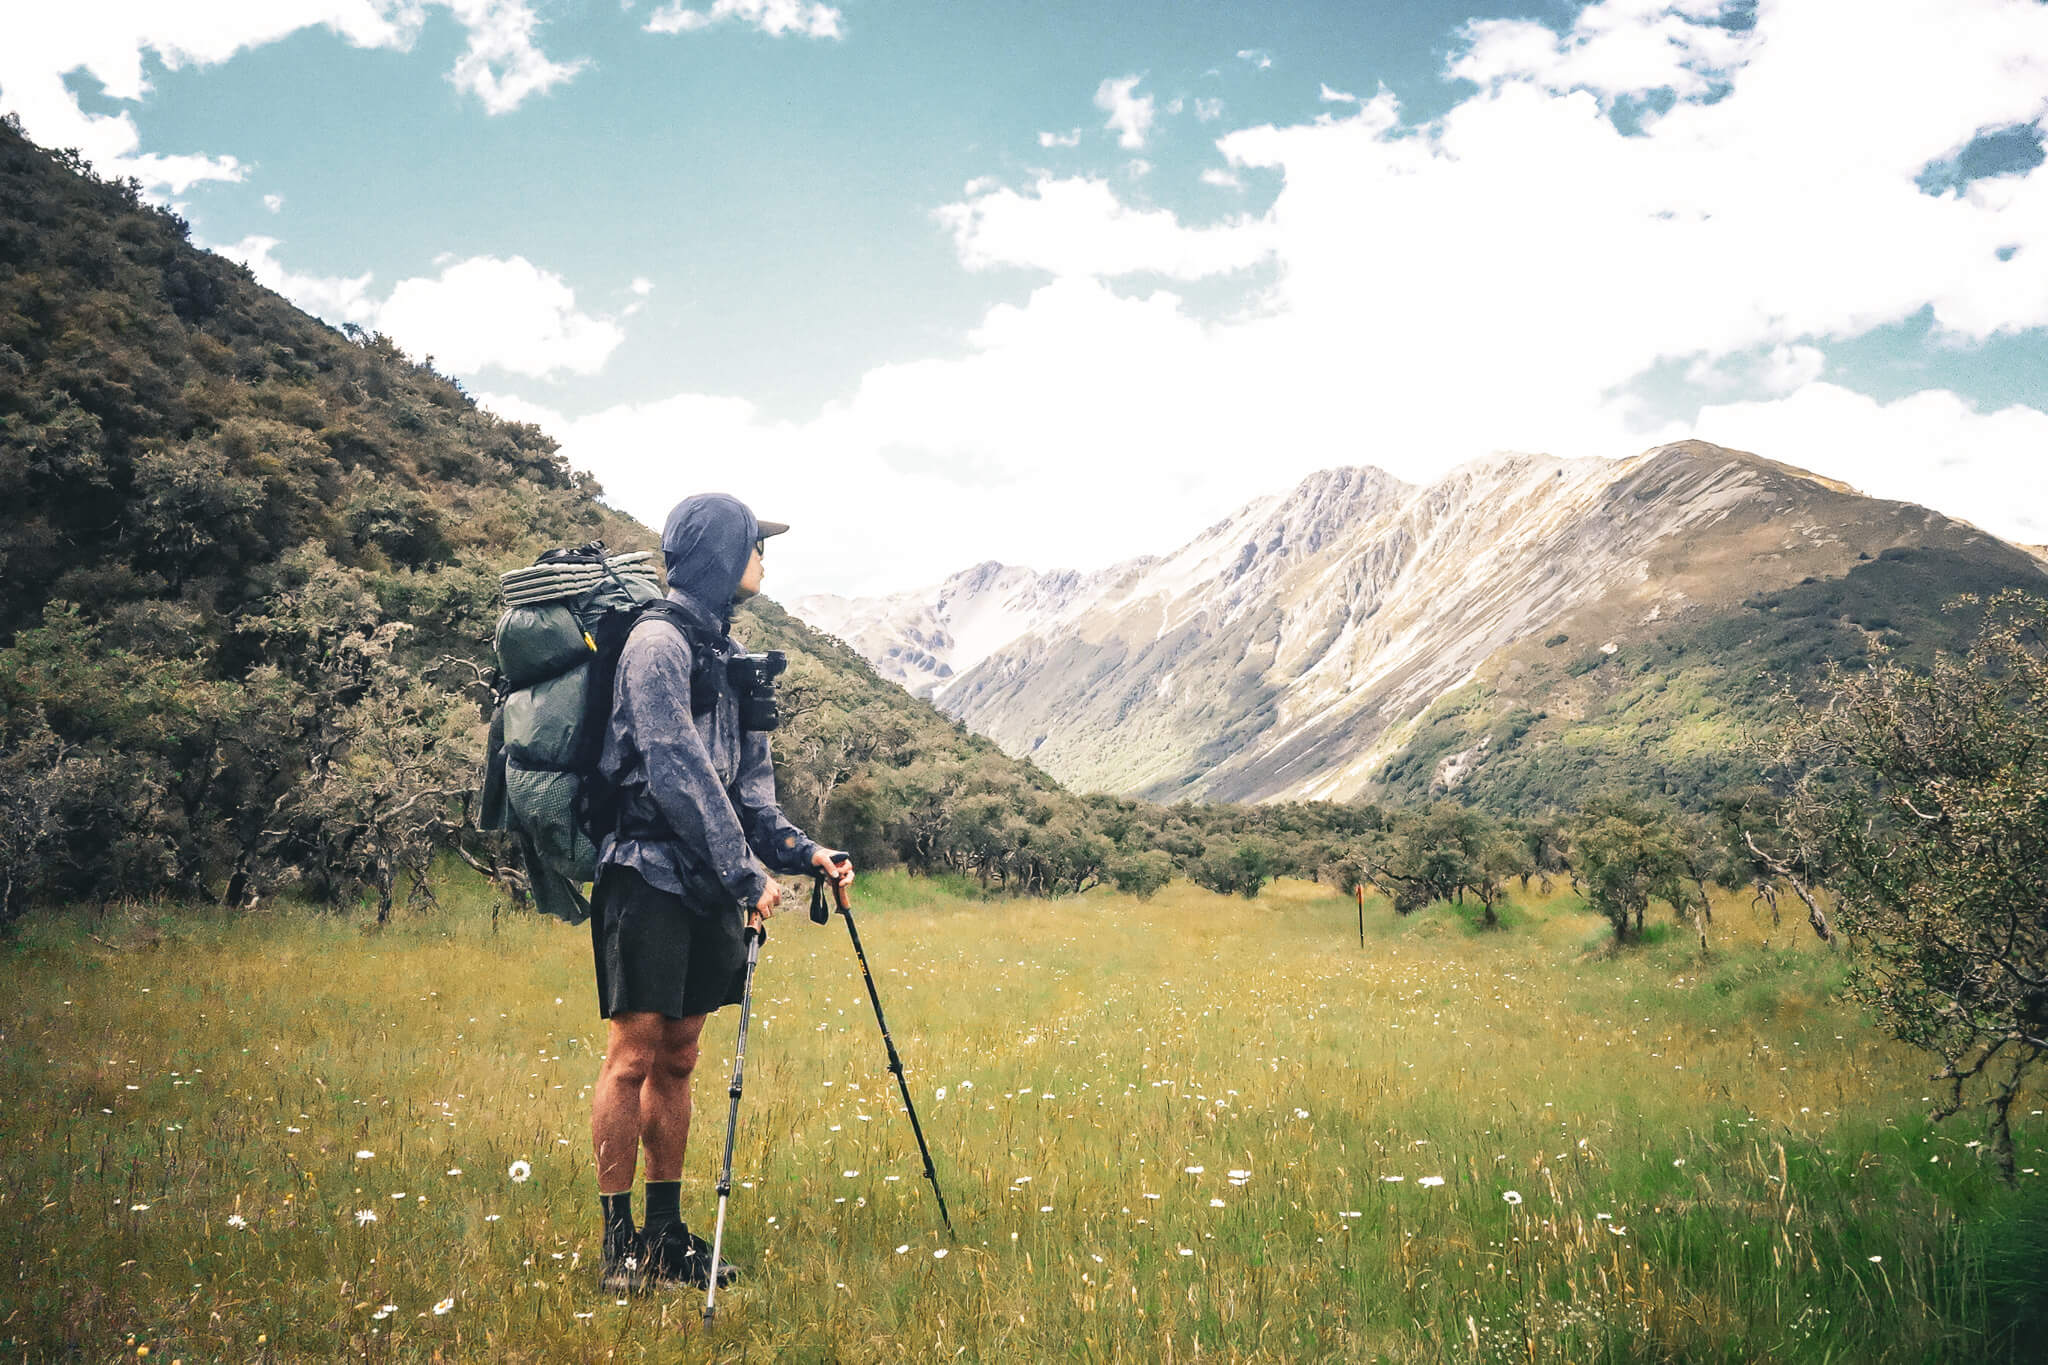
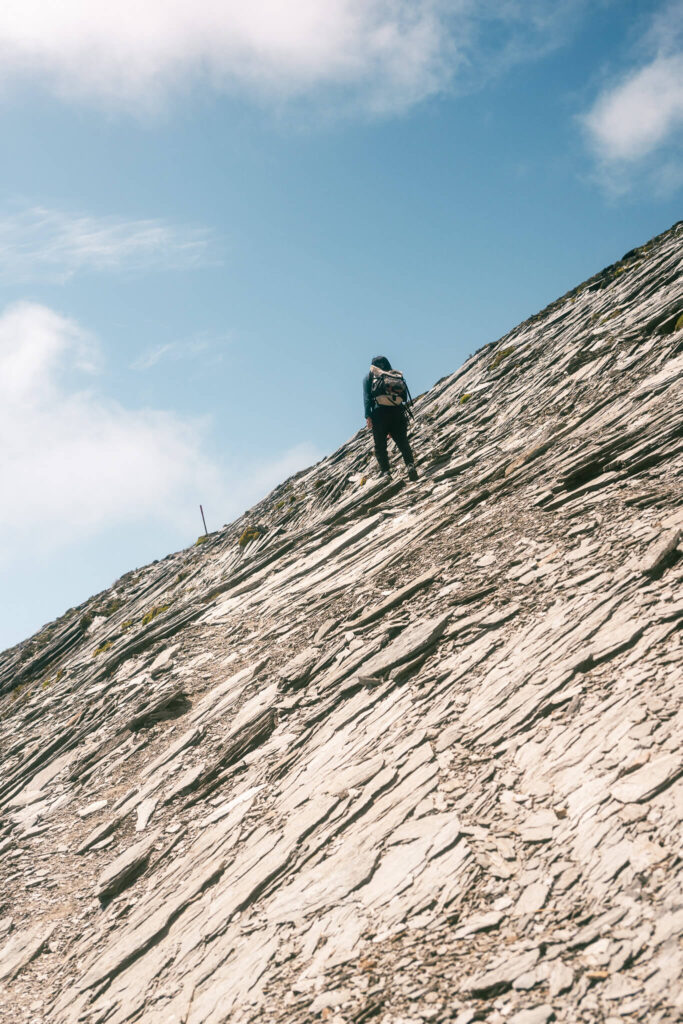
All-day ups and downs (mountainous terrain)
Roughly 20 km. This is something you won’t truly know until you are actually out there walking, so I think it’s best to decide on the go—like thinking, “If I feel like I can walk a bit more, I’ll push through to the next hut.” It’s a sense you will naturally grasp as you keep hiking, so there is no need to worry about it.

Of course, it’s not always so clearly divided; you’ll also encounter sections that are a mix of flat terrain and ups and downs.
Furthermore, even if a section looks completely flat on a map, it might actually be a sideways traverse where the trail itself is severely slanted and difficult to walk on. Sections like this can eat up a significant amount of time, so it is highly recommended to plan your itinerary with a bit of a buffer.
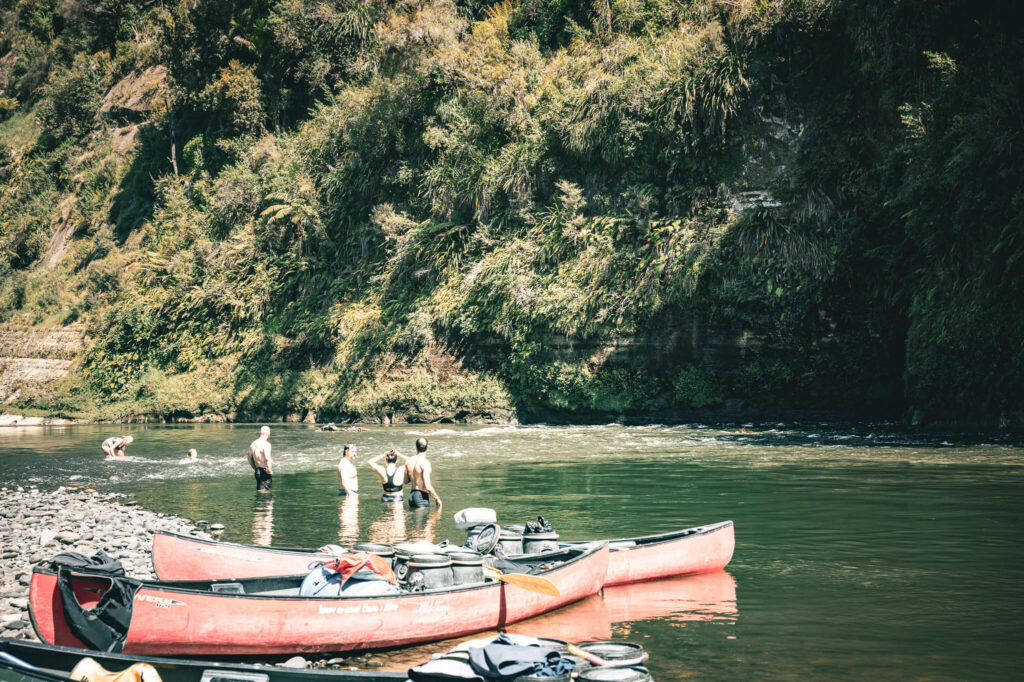
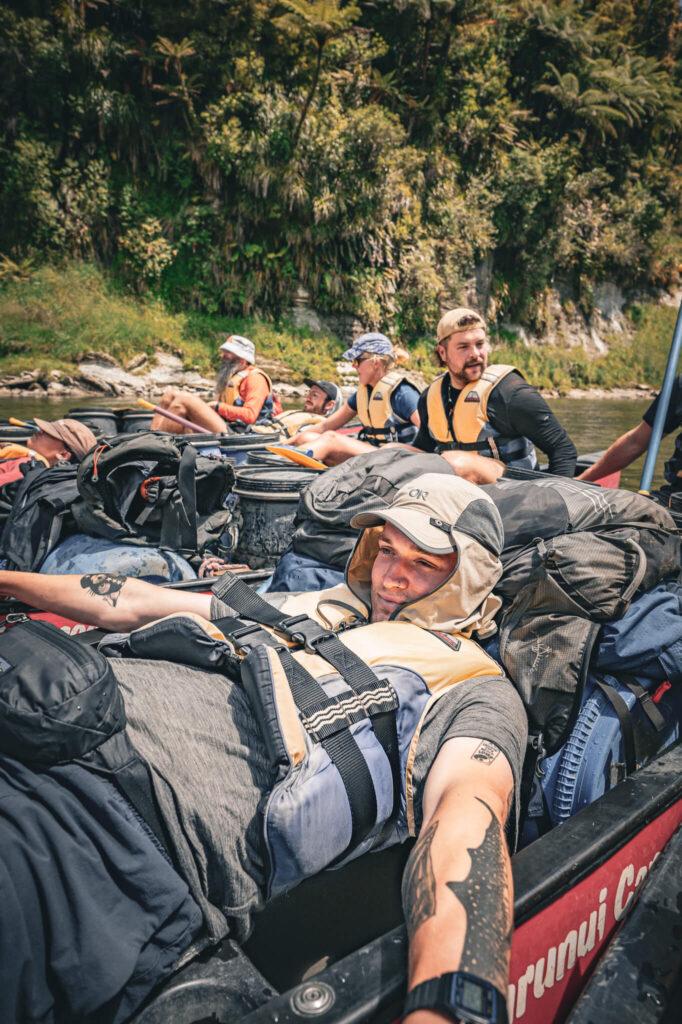
Canoe Section
In the middle of the North Island, there is one of the Great Walks called the “Whanganui Journey.”
You spend 5 days paddling down the river in a canoe.
People pair up in groups of two to paddle a single canoe together.
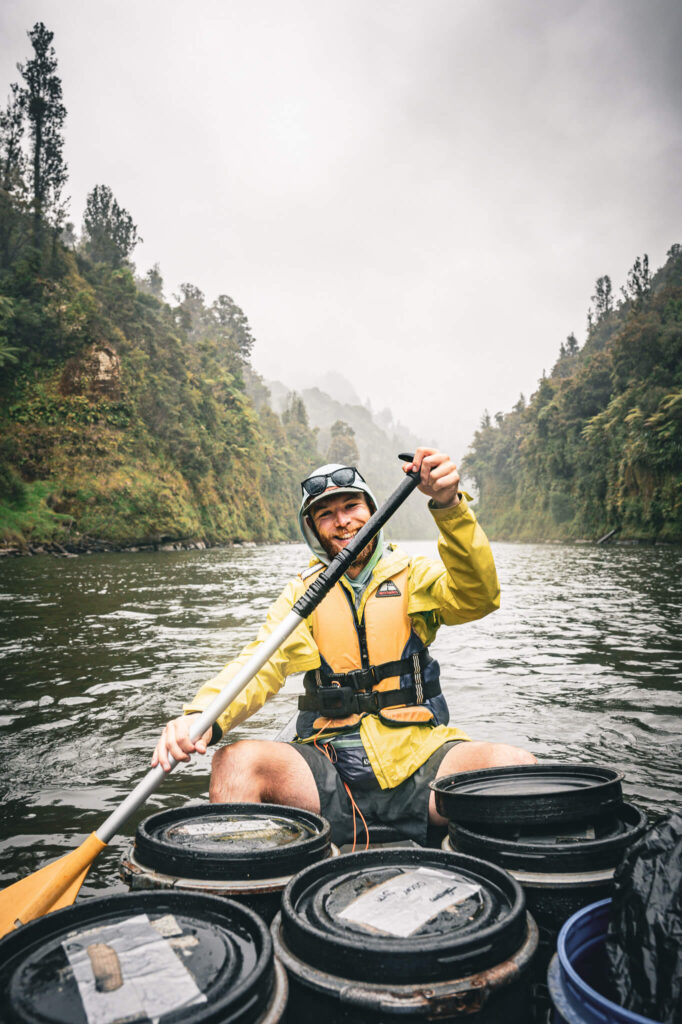
Price: 240 NZD for 5 days.
Since you carry your luggage in the canoe here, you can bring heavier food than usual. Some people were even buying extra packs of snacks, beer, and even speakers, lol.
This section has a different kind of fun compared to the rest of the trail, where everyone hypes each other up and throws parties every night, so I highly recommend not skipping it.
Recommended section to skip for those short on time
Whether you skip sections or not is completely up to you!
Personally, I don’t recommend it, because the more you skip, the less satisfying the overall experience feels. This is especially true once you’ve finished the entire trail. It really comes down to a battle with yourself.
However, for those who absolutely must skip sections due to visa restrictions or other constraints, here are my recommendations:
Auckland City (Saves 2 days)
This is simply walking through the city center. There are too many people, which makes it difficult to hike. It feels like about half of the hikers skip this part.
Auckland to Hamilton (Saves 4 days)
I barely ran into any other hikers here. On top of that, the trail is barely maintained at all, lol. That being said, it’s actually a section where I have a ton of memories.
Arthur’s Pass to Tekapo (Saves 8 days)
To be honest, the South Island is beautiful everywhere, so I don’t recommend skipping any of it. However, this particular section has very poor access
How to get to the starting point
Once you decide on your start date, the next thing you’ll probably look into is how to get to Cape Reinga.
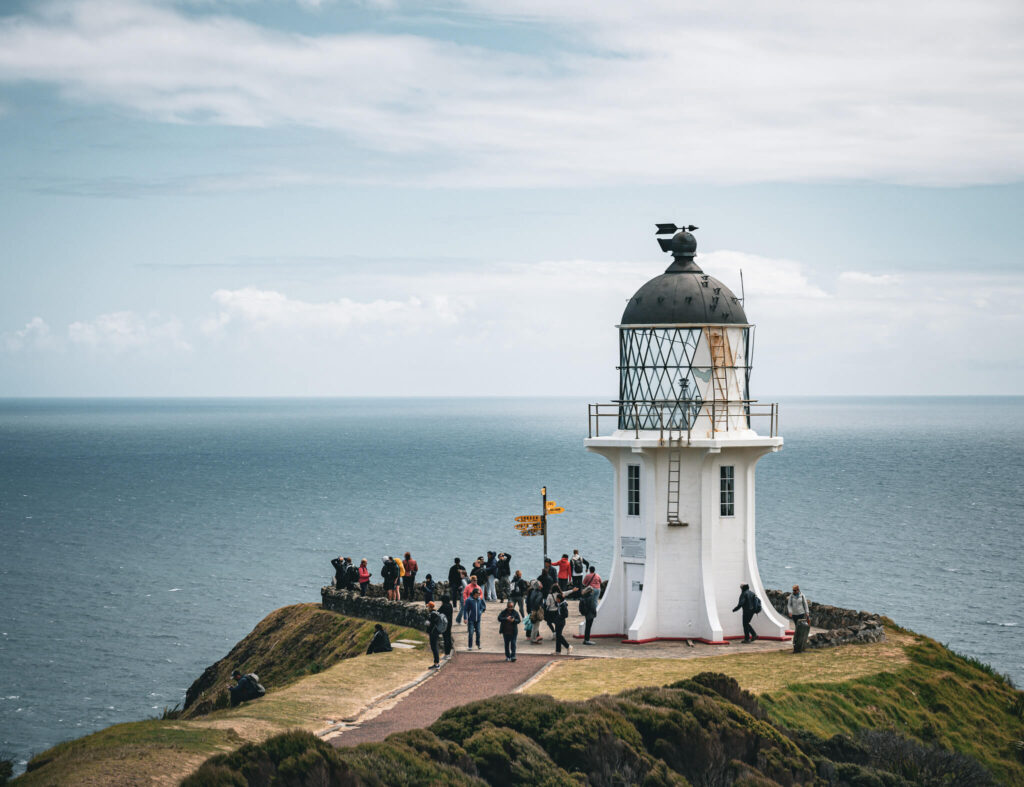
Most people heading to Cape Reinga will aim for Kaitaia first.
From Auckland to Kaitaia, you can take either a flight or a bus (Intercity bus). It’s a choice between saving time and comfort, or saving money.
Next is Kaitaia to Cape Reinga. There are a few different ways to get there:
- Day Tour Bus (Approx. 180 NZD)
- Shuttles operated by individuals or small businesses for TA hikers (Approx. 50 NZD)
- Hitchhiking (0 NZD)
I was foolish enough to try booking the shuttle the day before, so it was fully booked and I couldn’t get a spot. Because of that, I had to book the day tour bus and pay the higher price. There were two other TA hikers on the tour bus as well.
Looking back now, though, I think I should have just hitchhiked. By the time you finish walking the Te Araroa, you will probably end up hitchhiking dozens of times anyway. The first time I ever hitchhiked was after I started the Te Araroa. Since you’re going to end up hitchhiking sooner or later anyway.
Cost
My remaining balance when I started was 8,162 NZD.
My remaining balance when I finished was 1,955 NZD.
The total amount spent, including flights and buses, came out to 6,682 NZD.
That’s quite a bit, lol. I kept my grocery expenses down to about 70 NZD a week, but since I also ate out pretty often, it ended up looking like this.
Over to you
I think that just about covers all the essential gear and knowledge you’ll need for the Te Araroa.
In fact, when I started, I didn’t even know there was a canoe section until it came time to actually book it, and I set off without really knowing what kind of terrain I’d be passing through. While that had its own kind of charm and was fun in its own way, knowing things beforehand—like how to handle tents or how the buses work—would have allowed me to hike much more comfortably and avoid unnecessary expenses… Knowledge truly is money. I wrote all of this down in the hopes of sharing those exact lessons with you today.
Next time, I’m planning to talk about the mental side of things and what was going through my head during the journey. There might be some useful insights in that as well, so please take a look whenever you have some free time.


コメント